
How to Use a Cold Press Oil Machine: Step-by-Step Seed Pressing Guide
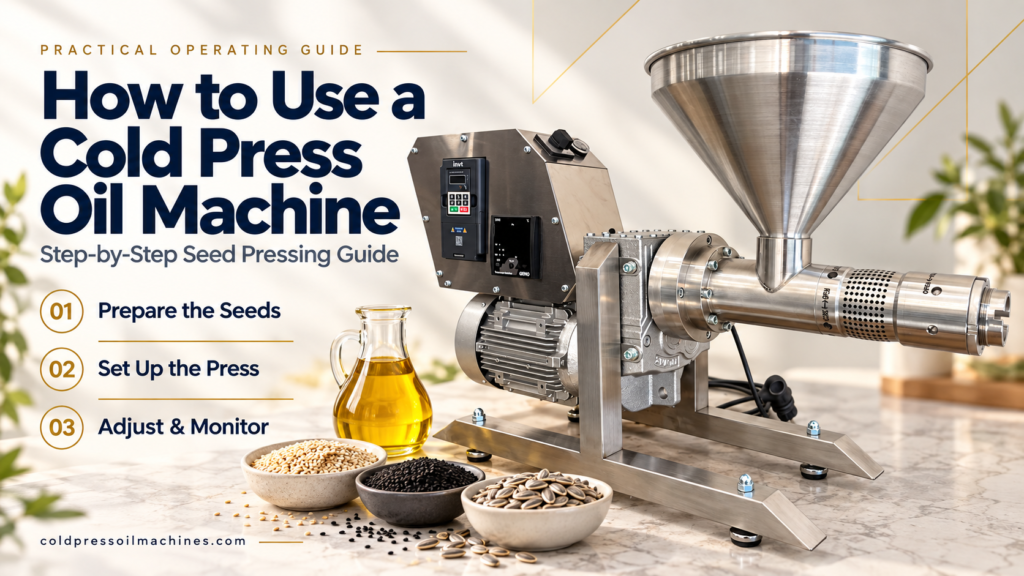
Step-by-Step Seed Pressing Process
This practical guide explains the complete seed pressing process, from raw material preparation and machine preheating to nozzle selection, motor-speed adjustment and stable oil production. It is intended for small and medium-scale producers, workshops, farms, laboratories and users who want to produce cold-pressed vegetable oils with a mechanical screw press.
Operating a mechanical screw press is straightforward once the correct process is understood. However, oil yield and production stability depend heavily on how the raw material is prepared and how the operator manages the pressing process from beginning to end.
Before You Start
The most important principle is simple: a cold press oil machine can only perform well when the seed or nut being processed is suitable for oil extraction. Moisture level, drying method, roasting conditions, hardness and oil content all influence the final result.
1. Prepare the Seeds Correctly Before Pressing
Raw material preparation is one of the most important stages in cold press oil production. Seeds should be dried without damaging their natural structure. Excessive heat or cooking during drying can reduce oil yield and change the characteristics of the raw material.
When drying or roasting is required, use controlled low-temperature processing. Hot-air dryers or fan-assisted ovens are preferable to direct-flame ovens because they provide more uniform heating and reduce the risk of overheating the internal oil.
Important: Avoid Excessive Heat
Seeds may look dry and crisp on the outside while excessive heat has already altered the internal oil. For efficient oil extraction, the goal is to reduce moisture while preserving the natural properties of the raw material.
The exact drying and roasting parameters vary according to the seed. If you do not have the necessary preparation equipment, the simplest solution is to purchase raw material that has already been properly dried and prepared for cold pressing.
2. Check the Machine Before Adding Raw Material
Before pressing, connect the machine to the correct power supply and run the system briefly while the hopper is empty. This preliminary check confirms that the motor, screw and control system are operating correctly before raw material is introduced.
- Make sure the hopper is empty.
- Connect the machine to the correct electrical supply.
- Start the motor briefly.
- Confirm that the screw rotates normally and the control system is ready.
3. Preheat the Press Head
Before starting production, preheat the steel press head at the cake outlet. This heating is intended to help the pressed cake discharge smoothly. It does not heat the incoming raw material during normal production.
As a general starting point, approximately 100°C for 20–30 minutes is sufficient under normal workshop conditions. In colder production environments, a slightly longer preheating time may be required.
Why Preheating Matters
If the press head is too cold, the first pressed cake may not discharge smoothly. A properly preheated head helps establish a stable pressing process at startup.
4. Start the Motor and Begin Pressing
Once the machine has been checked and preheated, press the Start / Run button on the motor drive. Set the motor speed according to the recommended parameters for the seed being processed, then pour the prepared raw material into the feeding hopper.
After approximately one minute, the first pressed cake should begin to exit from the front press head. Continue pressing for a few minutes until oil begins flowing from the oil outlet holes.
5. Do Not Install a Nozzle Too Early
A common operating mistake is to install a small nozzle immediately at startup. The recommended method is to begin with the press head unrestricted and allow the pressed cake to establish its natural flow first.
Once oil is flowing steadily from the outlet holes, stop the motor and prepare to install a nozzle. The nozzle increases resistance at the cake outlet and can improve extraction efficiency by approximately 2–3%.
6. Start with a Medium Nozzle Size
Entry-level machines may be supplied with several nozzle sizes. A typical set includes:
| Nozzle Size | General Use During Adjustment |
|---|---|
| 22 mm | Very open outlet / initial testing for difficult materials |
| 18 mm | Large starting size |
| 15 mm | Recommended medium starting point |
| 13 mm | Higher cake compression |
| 10 mm | Common optimum range for many oilseeds |
| 8 mm | High compression; only when the raw material allows stable discharge |
Because seeds are agricultural products, there is no single nozzle size that is correct for every crop, harvest or country of origin. Start with a medium nozzle such as 15 mm or 18 mm, observe the cake discharge and oil flow, and then reduce the size gradually if the machine continues to operate smoothly.
7. Reduce Nozzle Size Gradually and Observe the Process
After pressing for 1–2 minutes with the 15 mm nozzle, observe both the oil flow and the consistency of the discharged cake. If the cake exits smoothly and oil production improves, you can stop the motor briefly and move to the 13 mm nozzle.
During nozzle changes, work quickly. Long interruptions can allow the pressed material inside the chamber to cool and harden. Keep the interruption as short as practical, ideally around 1–2 minutes.
Clean the Outlet Before Installing the Next Nozzle
Remove remaining cake residue from the outlet area before fitting the next nozzle. Make sure the nozzle is correctly seated before restarting the machine.
8. Reduce Motor Speed as the Nozzle Becomes Smaller
As outlet resistance increases, motor speed should also be reduced gradually. This helps maintain stable pressing and prevents the machine from being overloaded.
| Example Adjustment | Motor Speed |
|---|---|
| Initial pressing / larger nozzle | According to the recommended starting setting |
| 13 mm nozzle | Approx. 15 Hz |
| 10 mm nozzle | Approx. 10–15 Hz depending on the material |
| 8 mm nozzle | Approx. 10 Hz when required |
These values are operating examples, not universal settings. Always adjust according to the raw material, machine model, cake discharge and oil flow.
9. Find the Best Balance Between Oil Flow and Cake Discharge
For many oilseeds, a 10 mm nozzle can provide a good balance between stable cake discharge and extraction efficiency. Run the machine long enough to evaluate the result properly. A longer observation period, such as approximately 10 minutes, is more useful than making very fast adjustments.
A good operating condition is reached when:
- Oil flows steadily from the outlet holes.
- The pressed cake exits continuously without blockage.
- The cake becomes firmer and drier as compression increases.
- The motor runs smoothly without excessive load.
10. If the Result Is Poor, Review the Process from the Beginning
If oil yield remains low, the cake is too soft, or the machine becomes difficult to operate, do not focus only on nozzle size. Review the complete process, beginning with the raw material.
Check moisture content, drying method, roasting conditions, seed quality, motor speed and the order in which adjustments were made. In many cases, poor pressing performance is caused by unsuitable raw material rather than a machine fault.
Adjust Settings According to the Seed Type
Different oilseeds can behave very differently during pressing. Seed size, hardness, moisture content, oil content and preparation method all influence the most suitable nozzle size and motor speed.
For this reason, there is no single setting that should be used for every raw material. Start with a medium nozzle size, observe the oil flow and cake discharge, and then make gradual adjustments. If the cake continues to discharge smoothly and oil flow improves, you can reduce the nozzle size step by step while lowering the motor speed when necessary.
The most reliable method is to treat each new seed as a separate production test and record the settings that provide the best balance between oil yield, stable cake discharge and smooth machine operation.
Final Operating Principle
The machine itself is mechanically simple: prepared raw material enters the hopper, the screw compresses it, oil exits through the oil outlet holes and press cake leaves through the front outlet. The operator's main responsibility is to prepare the raw material correctly and make gradual adjustments while observing the process.
When the raw material is suitable and the process is managed carefully, cold press oil production becomes stable, efficient and repeatable.
Need Help with Your Cold Press Oil Machine?
Tell us which seed or nut you plan to process, your machine model and your required production capacity. Our team can provide machine-selection and operating guidance.
View Products Contact Us WhatsAppcold press oil machine cold pressed oil oil press machine oil production screw press seed pressing
